Meshlet Rendering using DX12 Mesh Shading pipeline
This project focuses on leveraging modern graphics pipeline advancements to optimize rendering workflows. It explores the DirectX 12 pipeline and the implementation of Mesh and Amplification Shaders to achieve efficient GPU-driven rendering. Key aspects include generating meshlets, enabling fine-grained culling, and supporting instancing. The project aims to demonstrate performance gains and scalability benefits by reducing CPU overhead and maximizing GPU utilization in complex rendering scenarios.
Development Specifications:
-
Engine: D3D12 (C++)
-
Platform: PC (Windows)
-
Development time: 5 Months (WIP)
Table of Contents (Click the title to go to section)
Mesh Shading Pipeline
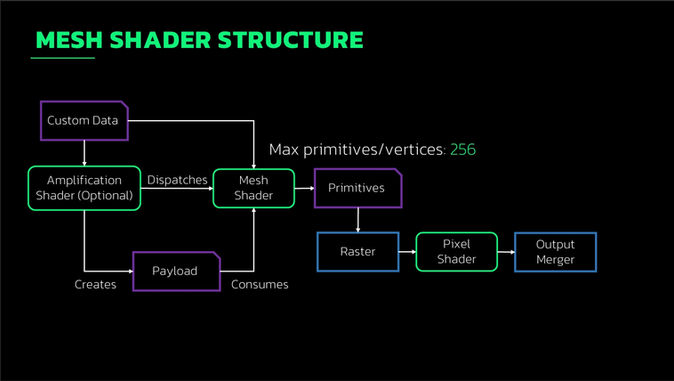
The Mesh Shading Pipeline introduces a GPU-driven approach by replacing multiple traditional stages with the Amplification and Mesh Shaders, operating at the meshlet level. This enables efficient culling, LOD, and batching directly on the GPU, reducing CPU-GPU overhead and improving scalability.
Meshlet Generation
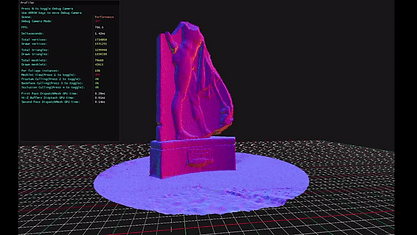
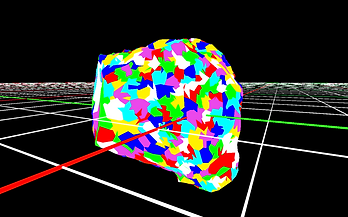
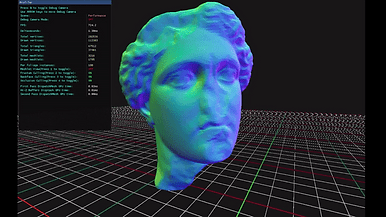
Meshlet Generation Logic
The code snippet above outlines a detailed algorithm for meshlet generation. Here's how it works:
-
Initializing the Meshlet: Start with the first triangle in the list (index 0) and attempt to add it to the current meshlet.
-
Candidate Selection: Identify adjacent triangles to the current triangle and mark them as candidates for inclusion in the meshlet.
-
Scoring Candidate Triangles: Evaluate the candidate triangles based on three criteria:
-
Spatial Locality: Triangles closer to the existing meshlet are preferred.
-
Vertex Sharing: Triangles sharing vertices with the meshlet reduce the total vertex count and improve efficiency.
-
Similarity of Triangle Normals: Ensures smoother shading and logical grouping.
-
-
Sorting Candidates: Re-sort the list of candidate triangles based on their computed scores to prioritize the most suitable candidates.
-
Adding Triangles: Add the highest-scoring candidate triangle to the meshlet.
-
Repeat Process: Steps 3-6 are repeated until the meshlet reaches the maximum allowed vertices or triangles.
-
Starting a New Meshlet: Once the current meshlet reaches its limit, move to the next meshlet and use the remaining candidates to begin the process anew.
Meshlet Instancing
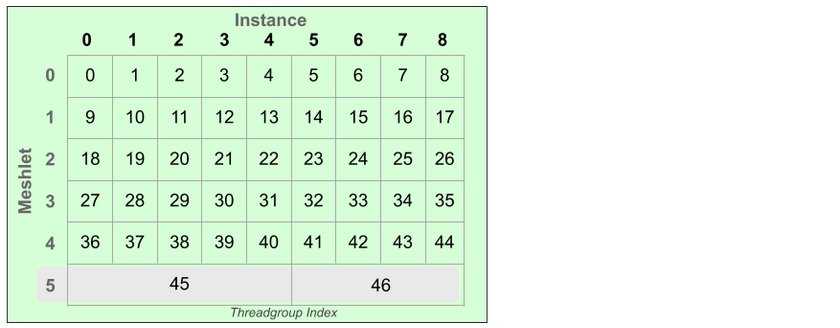
Meshlet Instancing refers to a technique in GPU-driven rendering where multiple instances of a meshlet (a small, discrete piece of geometry that can be processed by a mesh shader) are processed in parallel by the GPU, often within a single threadgroup. This is done to optimize performance when rendering large numbers of objects or instances using mesh shaders, particularly in cases where instances share the same geometry but may differ in their transformations (such as position, rotation, or scale).
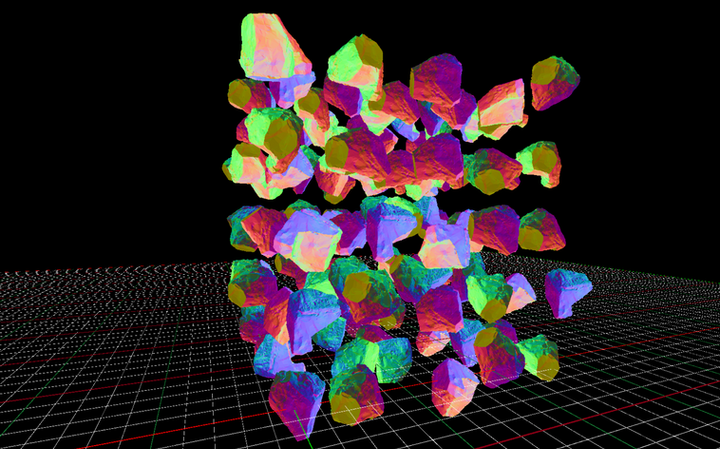
The technique relies on packing multiple instances of the final meshlet into a single threadgroup and efficiently managing the threadgroup and instance indices. The application computes the number of threadgroups based on instance count and meshlet geometry, ensuring optimal packing and efficient GPU dispatching.
Culling Processes
Culling processes in the Amplification Shader are a critical part of the Mesh Shading Pipeline in DirectX 12. The Amplification Shader acts as a programmable stage designed to manage and cull meshlets before passing them to the Mesh Shader for further processing. These culling operations aim to eliminate unnecessary geometry early in the pipeline, reducing rendering overhead and improving GPU efficiency.
Meshlet Frustum Culling
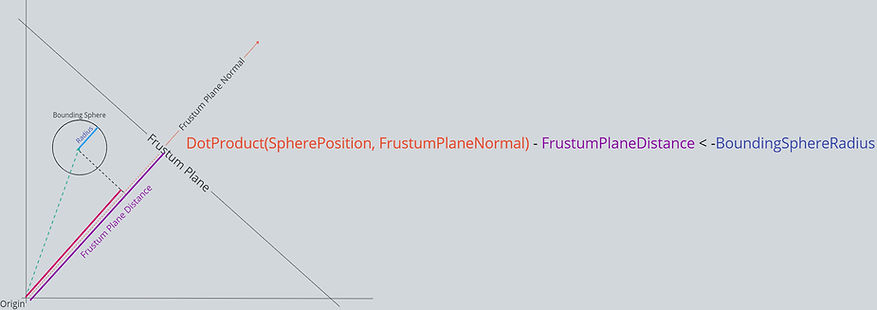
Furstum culling logic
Frustum Culling Amplification Shader code
Meshlet Backface Culling

Backface culling logic
Backface Culling Amplification Shader code
Meshlet Occlusion Culling
Inspired by the Nanite occlusion system, I implemented my own two pass occlusion cullling. To implement this I fist needed to understand how Hierarchical Z-buffers are generated and write my own system to generate them. I used the compute shading pipeline to generate 10 Hi Z-buffers in consecutive mip levels going to the highest level of 1X1 pixel dimensions. Below is the compute shader code alongwith the Hi Z-buffer generation of a sample scene.
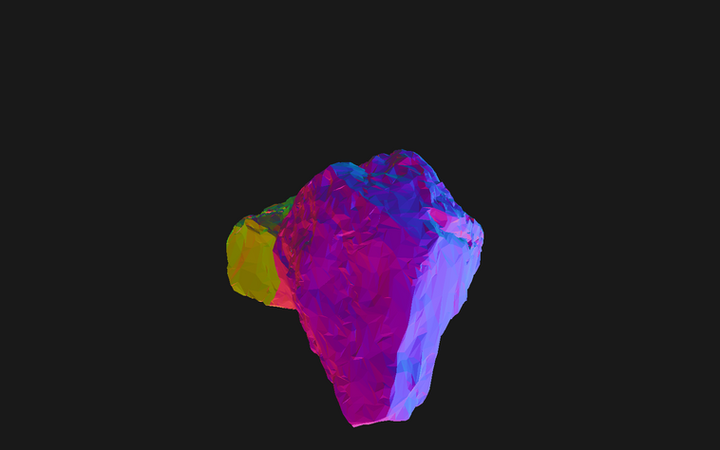
Sample Scene




Mip 1
Mip 0
Mip 2
Mip 3
Mip 4
Hierarchical Z-buffer
Below is a visualization of how the occlusion culling is being done.
Debug tools I made for this project
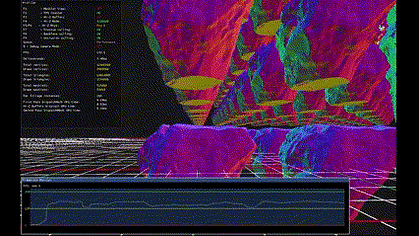
I made tools to help me debug this project and get as much real time data as possible. Real time data I am reading every frame:
-
Total vertices and drawn vertices
-
Total triangles and drawn triangles
-
Total meshlets and drawn meshlets
-
Framerate
-
Culling checks
-
GPU execution time for generating Hierarchical Z-Buffers
-
Hi Z-Buffer views with multiple mip levels
-
A debug camera view and a main camera view
_gif.gif)
Framerate
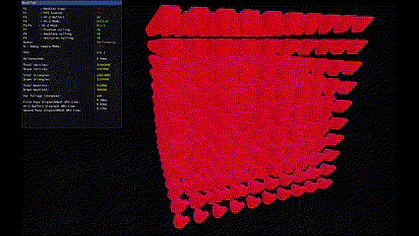
Hi Z-Buffer view: OVERLAY
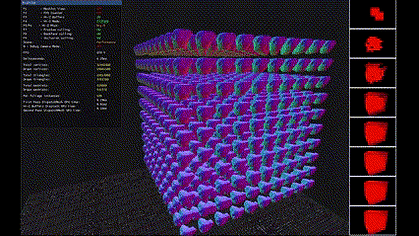
Hi Z-Buffer view: SIDEBAR
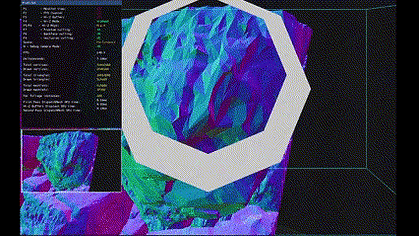
Main and debug cam view